Monday, 11 March 2013

finished ... almost! Pretty in pink

Hey all!
A lot has happened since my last post!!


Quote: Left to complete:
sand, prep and paint wood work - check
cover wood panels with fabric - check
make 2 blinds for the side windows - check
order, cut, cover bed foam - check
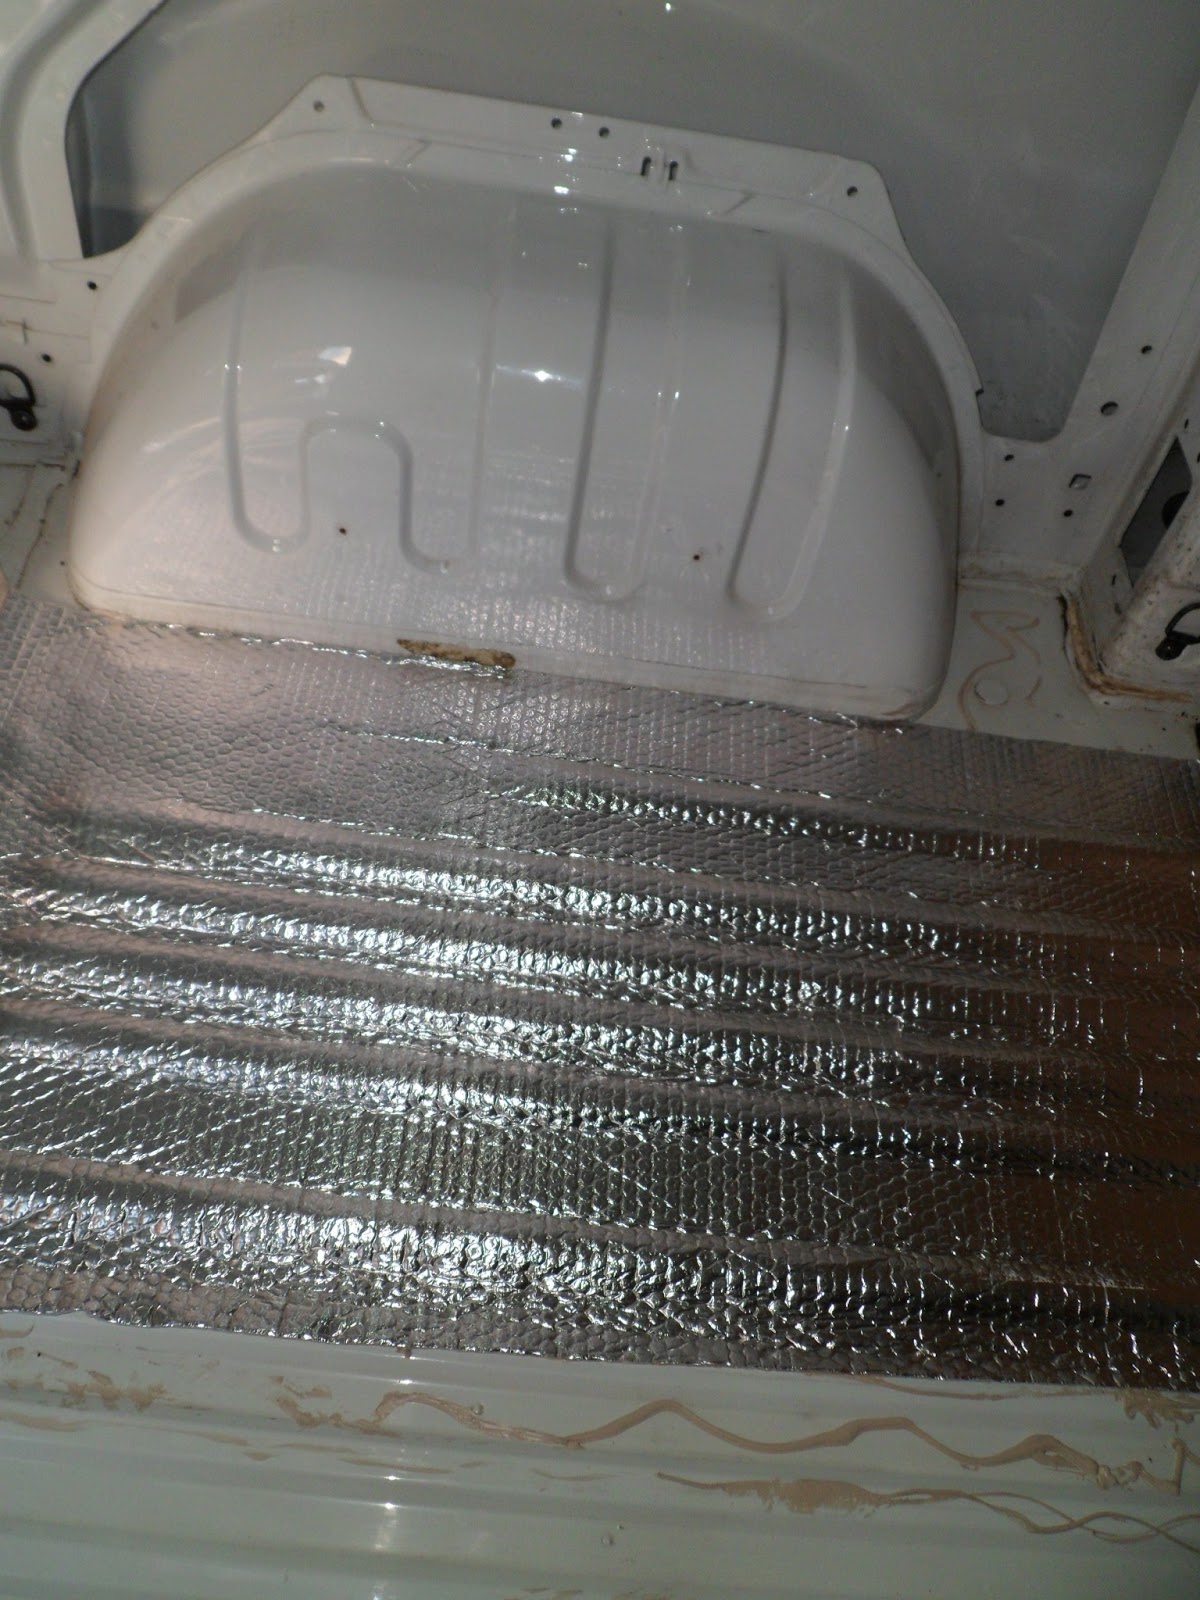
lay the flooring - check
screw units/bed to the floor - check
fill with pretty pink things - check

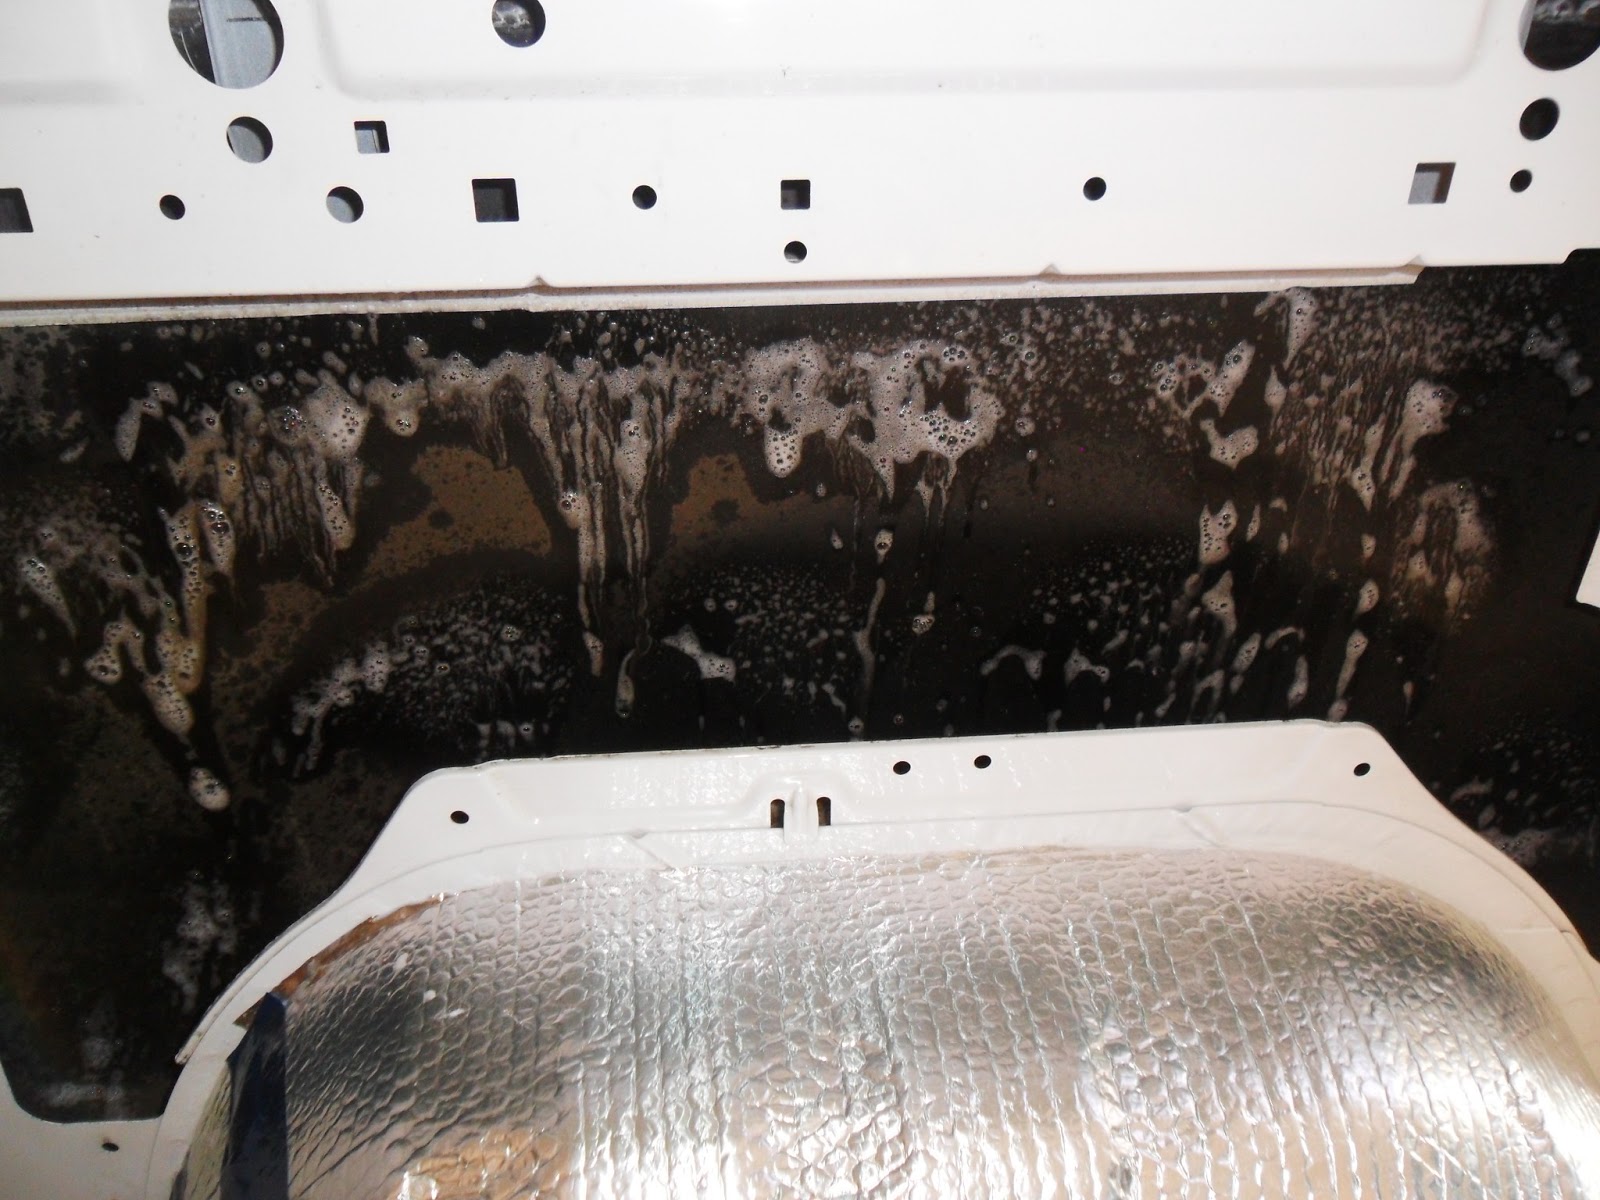
the flooring was the most difficult as it ripped easily! that's laid, the cupboards, bed, storage has all been painted, i've made a shelf on the top of the 'bike shed', made a curtain for the bed storage, made 2 blinds for the windows, lined with blackout lining, covered the foam with a sheet, and a second cover so it can be washed. prepped/painted and sanded the cupboard doors to give it a shabby chic look. now to put in the girlie touches and drive to the beach :)

 the style of the interior

 curtain - backdrop

 cushion covers
 kitchen unit


Saturday, 16 February 2013

nearly finished :D

So there's been a lot of changes this week! soo exciting. the carpet lining arrived, the ceiling panels got covered, made a window sill, carpet lined 2 panels, made the bed, decided i wanted a box shed at the back, so i've made that today, also had a space at the side of the bed so mad myself a lift up cupboard, 

covered the first ceiling panel.


Used this for the carpet lining, great stuff!
started to plan the bed

 window sill :)

 finished the first panel off :p
 ..on to the second.


 finished the bed :)

so after finding out that you pay extra for a bike rack on the ferry i decided to fit a bike into the back of the van, with a shelf at the top to finish it off better.


the bed..the front pulls out to make a small double sized bed
self made lift up cupboard :) who said carpentry is a man's job, how sexist.
now for a lot of painting, decided to build the 'kitchen' cupboards as i have a large piece of ply left as i wanted a painted wood unit, this might be a 3 cupboard, corner combi! 

Left to complete:
sand, prep and paint wood work
cover wood panels with fabric
make 2 blinds for the side windows
order, cut, cover bed foam
lay the flooring
screw units/bed to the floor
fill with pretty pink things

and drive to the BEACH! :)


Tuesday, 12 February 2013

it's taking shape now (:


Just uploaded some extra photos from my phone, here is a closer look of the ceiling, the battens run the length to support the ply board, these are screwed into the double metal struts.

Casually laying on the van floor! i have started just sitting on the wheel arch with the door closed, it's so relaxing! and now warm!!! :)
Here is a another look at the ceiling insulation, you can tell it's a lot warmer just from me sitting in there, the condensation on the window. I will fix wind deflectors to the front windows and leave the windows open slightly.

 I am so anal that I have made the grill cover a diamond instead of a square, just to make it look better. The little touches which you can do in a self build.
12.2.13
Started the bed today! this was the hardest thing to settle on with the design, I was going to buy a sofa bed from Ikea but it would mean either cutting a side to fit between the wheel arches, or to make a support and rest it on top, and then a support would be made to support the foam, so we just made our own, the final design isn't modern, so that ruled out a rock and roll bed, also being expensive too.

Sunday, 10 February 2013

more camper van than gypo van

busy week for the van!

The pink leather is now being used to cover the ceiling boards, and I have opted for a barley mega stretch carpet to cover the walls and door cards.

6.2.13
Windows fitted!! a quick process done in Derbyshire,
it turns it from a gypo wagon to a camper


Insulating the panel below the window, just finishing off the insulation after the windows have been done as the van was covered in iron filings.

Packed out the recess with insulation as well as having the insulating board behind, this van belongs to a girl who has 2 duvets in the summer! I will not get cold!
9.2.13
Who needs a man - me cutting out the 3 ply boards on a Saturday morning, next door asked if he wanted me to help, I spent the morning moving around ply boards, jigsawing and drilling!
 Cut out the window hole for the back panel, it will need some adjusting but that will be easier now we can see through the hole to where the window sits.
insulating the roof - i don't think this is going to get cold! more board, and more insulation covered with plastic sheeting.
I have also decided not to put the bulkhead back in, I didn't want the bottom of the frame sitting on the flooring, I am a perfectionist and I have A levels in textiles and interior design, I am very particular. (so that was a touchy subject) but also since reading about wild camping it is a good idea to park facing the exit and being able to get into the cab, so I can squeeze between the seats)
fitted the ply panels back in - just need to cover the ceiling panels, carpet the ply once it is delivered, decide on how to have the bed, screw the ceiling in place, sort the cupboards and hey presto! 
job's a gudden
the knitting project was finished last week too!

Monday, 4 February 2013

it continues


So first things first.
I laid the foil insulation over the floor and wheel arches, cut the insulation boards to fit onto the floor, laid both another simple job, laid the flooring back into position and attached it to support battens underneath, and screwed the ply to these, it is solid, and i am also a know it all on screw types!


The floor is in position, two battens run along the length of the van and the ply is screwed into these down the length, there is also a small batten near to the sliding door to support the floor as this area will be in constant use.
The layers - 
foil backed bubble wrap
insulation board
battens
ply board
Cleaned the rear panels to fit the foil insulation, add boards and fill the gaps with insulation. 

 a bit of a clean, but the panel is actually black


The pink leather for the walls has arrived! the windows are being fitted on Wednesday! all systems go!  :)

Sunday, 27 January 2013

The van build

Hey!
I've been banging on about getting a van to build a camper for over a year, I worked away and decided to save money to make it happen. I have decided to live a stress free life and to continue in travelling whilst working seasons, which means I will have enough time to travel, and manage to save money for diesel as I have accomodation provided on site, sometimes free food, so any money I earn is mine!
I now have the time and money to start this self build project, originally I was a brand whore, I only wanted a VW but after viewing T4's for sale I realised most in my price bracket were battered old builder's vans which would need considerable work just to make it look presentable. i decided to widen my search and look for a cheaper, better conditioned van which wasn't battered, and there are many models which fitted, however I don't have a class C1 on my licence and going from a clio I settled on a Vivaro, these are less commonly advertised on the net as a camper conversion van, however when you notice this model you will see hundreds on the road, meaning that they are reliable, so I viewed one and bought it. 

Original Images 
27/01/2013 I picked up the van this morning, drove it home, it took a bit of negotiation around the roundabout at first and a lot of men were looking at me as I jumped out of the cab in the petrol forecourt to pay and climbed back into the drivers seat. I drove it home and after getting used to looking in the mirrors i drove smoothly and didn't rattle at 70 mph. So the "it'l never happen project" happened.


I am changing the bulkhead panel to allow more light and a sense of space into the back.


First Steps:
27/01/2013
The van was already ply lined, we took out all of the wood, dusted and cleaned the metal work, and started on the insulation. This was time consuming but the ply boards seem to be in good condition, although after removing them, it became apparent that the previous owner had the theory of "silicone will fix it" i think everything has been siliconed into place.


After a clean, as good as new! although as an empty shell it is pretty cold!


We bought foil backed bubble wrap, this will cover the metal panels, then a insulation board with the original ply on top, the floor will be lino to easily keep clean and stop sand being ingrained into the carpet. This is an easy job, but don't believe that instant bond adhesive is actually instant bond.